

Decide on the shape you would like for your Tree skirt.
Having curved corners or a round makes for a much neater finish.
FOR DEMONSTRATION PURPOSES I HAVE SEWN WITH WHITE THREAD
Click on the photographs to get an enlarged view of each sequence.

You will of course match your thread to your fabric colour
I chose a circle shape which I drew onto my fabric
with a white quilting pencil and a whisky glass

I then used Steam - A - Seam 2
which is a double Stick Fusible Web
to join the two pieces of fabric together.
This double thickness gives weight to your carpet!
If you visit this website you can see a You Tube demonstration

Use a ZIG ZAG stitch to finish the edge
The side with the circle drawn onto it is the wrong side
Stitch width at setting 2
Stitch Length .05

Turn the piece over

Keeping the foot of your sewing machine on the edge of the zig zag stitch and your needle as far over to the right as possible.
Use a strong thread for the straight stitching as the last thing you want is this thread to snap.
Make sure there is a length of thread from both the bobbin and top thread before your begin stitching
Stitch a line of stitches using stitch length 2.5
Try to finish up as near to the first stitch as possible
Break off thread leaving a length of thread as you will need to tie the threads off
Turn the piece to the wrong side again and pull the loop of the thread through.

There are now 3 of the four threads on the wrong side.
Turn your work to the right side again

Thread this last thread into a fine sewing needleand insrt the needle next to the first stitch completeing the circle, and pull the thread to the wrong side
Turn your piece again

Using a reef knot tie these 4 threads, 2 at a time and weave them away between the two pieces of fabric.

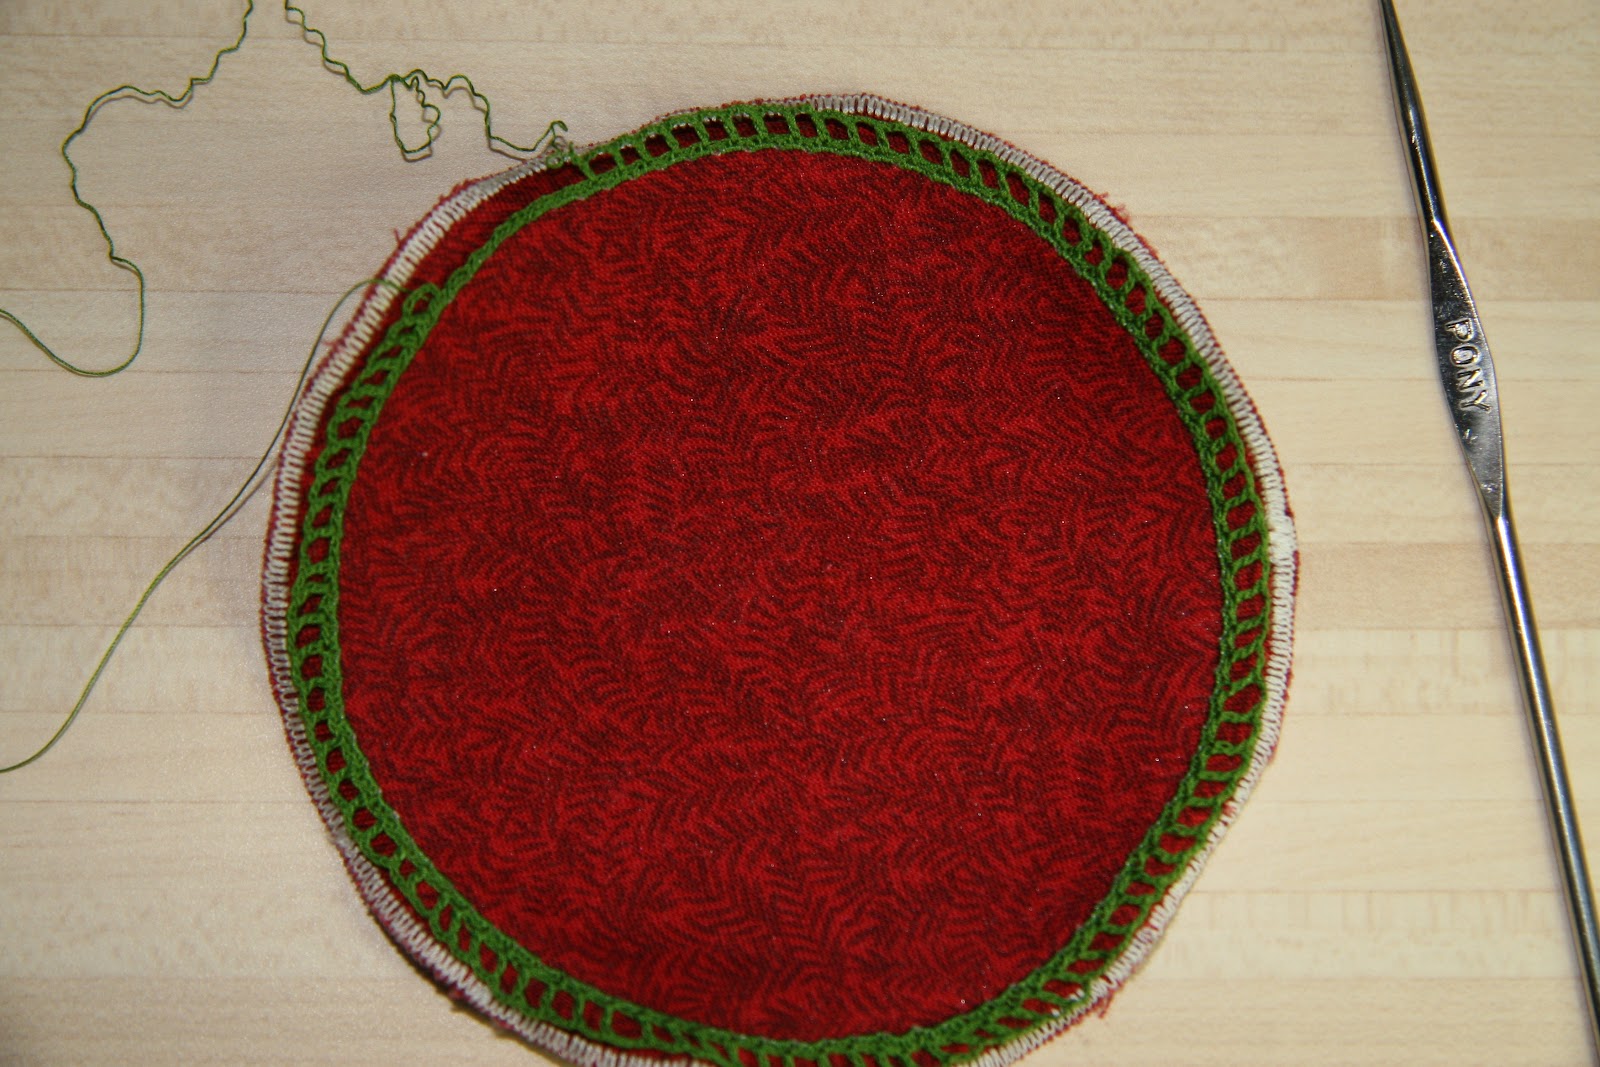
Cut away excess fabric and then using the Mettler no 50 thread and a 0.6 crochet hook
Attach your thread around the stitch, at the opposite side to where you began and ended the line of straight stitches
Round 1
3sc into each stitch as you make the first round.
Slip stitch into the first single crochet

Round 2
3ch (for first treble) *3ch, miss 2sc 1 tr into next sc
rep from * till end of round
Slip stitch into 3rd ch of round to complete the round.
There must be an even number of holes formed for the pattern to work out
Round 3
Slip stitch into first hole make 1sc into this same hole
*3tr, 2ch, 3tr, into next hole, (we will call this a shell)
1sc into next hole rep from * finishing with
a slip stitch into first sc of round. break off thread

Round 4
Change colour and beginning at the oppsite side of the edging,
(you don't want all the threads at the same point difficult to weave them
away later.
1sc into a sc, 4ch, then 1sc, 2ch, 1sc, into 2ch space at the top of shell
4ch, then 1sc on top of sc of round below

You can use this technique for all sorts of miniature items, it is not as though we will be washing the items every week.
There are so many different delicate crochet stitches that were used on handkerchief edgings.
You can use it for turnovers on little sheets for you beds and cribs. Of course you won't fuse the fabric with those.
Hems of little dresses that need a trim, also it is difficult to get silver or gold delicate lace, so one can do this method in silver thread to decorate jackets....I think it is endless.
I can't see the woods for the trees anymore, so if you don't understand any part of this tutorial I'll happily see what I can do to make it better.
Just post a comment and ask for help!
I'll show you other examples another time!
Thank you for this very clever and useful tutorial.
ReplyDeleteHugs
I know you will come up with a lot more uses, Drora.
ReplyDeleteIt has worked well for me over time. Just be careful of the thread you use for the straight stitching as it is the most important part of the whole sequence
Drora, I'm happy it makes sense to you.
So wonderful! Thank you! XXX Morena
ReplyDelete