6 things I wished I knew when I
started
1:12th Scale Miniature Knitting
I can distinctly remember
saying ....
I'll never use smaller
than a 1mm knitting needle,
in fact I would be nuts if I did
Never say Never
Now I wish I had started on that size, in the beginning.
I wonder how much
further down my knitting path I would have been today!
20/20 vision is such a bonus, so we need to get the younger
knitters started in our miniature world.
Having had my cataracts removed this year has opened up a
whole new miniature world for me. Thank goodness I did my eyes now and did not
wait until I was "do dally tap" or 95 in the shade.
I know there are risks in every type of surgery but what a
pleasure my new eyes are and how colours have changed they are simply delicious
again....when not seen as though through a mist.
OK BACK TO MINIATURE KNITTING
Some needles do rust or should I
say tarnish with use, then they definitely begin to rust over time.
You will
find your stitches "stick" on the section of the knitting needle that
usually rests between your
thumb and index finger. It is to do with the acid content of the skin.
No amount of rubbing the needles in your hair one remedy I was told of or buffing up the needle, once the coating is gone it is gone and will begin to rust.
A couple
of years ago I took a human size shawl and knitted it in Venne 70 /2, just to see what would happen.
Firstly I should have used a larger size needle...so the result would never have pleased me.
After having nearly
finished the first side, I stopped working on it, leaving it on the knitting needle I was working with
at the time.....
Well I came across the piece last week and found that
where the needle had been resting on my skin it had totally rusted.
The finish coating had worn away from me using the
needle.....
the stitches cannot move at
all in that section. it will need a lot of twisting to remove the work from the needle.
I
'm
happy that I did so, as now I have a perfect example of what happens to knitting
needles that are not
stainless steel and only have a coating.
 |
| You can see the rust that has formed on the needle and how it has damaged the fabric |
For years I had used
a pair of 1mm stainless steel knitting
needles that I had bought in Holland.
Then horror of horrors one of the needles
snapped. I felt as though I had lost the extensions to my hands.
I tried to find out who had manufactured the needles so as
to replace them but to no avail.
I bought and tried every miniature knitting needle
available on the market...homemade ones,
lace knitting needles from Lacis,
I felt a little like Goldilocks, these were
too sharp, those rusted, others were too floppy, some were just too long, some were too short, it turned out the ones most
suitable at that stage were the Heidi Ott brand.
UNTIL
I discovered the HIYA HIYA brand
These knitting needles are stainless steel and they work
PERFECTLY for me.
I have been using them for more than a year now with no sign
of tarnish or rust on the needles.
NB For the moment,
I am not affiliated to the
"Hiya Hiya" Brand in any way....
I'm just thrilled to have found these perfectly wonderful
tools for knitting my miniature lace design and garments.
I happen to use the 0.7mm 24" circular needles, as
straight needles for my layettes.
The length of the needle section is 5 inches, so they sit in
my hands exactly as they should.
Not too long that the points stick into my clothing, making
my knitting go every which way causing me to drop stitches. One needs to be
careful that the cord between the needles does not get caught.
That has happened to me a few times much to my horror as I
see stitches drop from the needle.
I have asked
stockets of the Hiya Hiyas needles in the UK to
please approach Hiya Hiya and ask them to make other sizes required for the miniature
knitters of the world...namely 0.8mm and 0.5mm
1. Don't be
afraid of these tiny knitting needles they
don't bite.
Saying
that.....remember they will if the needles you
are using, have too sharp a
point on them.
not so with HIYA HIYA needles the points ARE PERFECT
2. Don't use
knitting needles that are so sharp that they
cut through your skin, this is
totally unnecessary.
3. Always
have a pair of finer gauge knitting needles than
the size you are working with,
in your
knitting basket. Perfect.....should
you need to unpick a row.
I use the 0.5mm for unpicking
4. You need
a range of knitting needles in various sizes
0.5mm for unpicking a row
Unfortunately
the smallest size Hiya Hiya make are 0.7mm
I cannot
remember where I bought my very fine needles
from...sorry
0.7mm for knitting in a Madeira Catona
80 thread
0.8mm for knitting stocking stitch
garments in Venne 70/2 Cotton Thread.
I use my Heidi Ott needles, which are the ones
with the
gold bead on the ends, for the
Bomber Jacket
Hiya
Hiya do not manufacture this 0.8mm either.
1mm for knitting lace patterns in
Venne70/2
Cotton thread.
1.2mm for casting off when a garment
has been
knitted using 1mm knitting needles
1.2mm when knitting shawls in the Venne
70/2
The
finished fabric needs to be far more of an open
weave for shawls and the drape
is marvelous.
5. You need
a range of crochet hooks in various sizes as well
0.4mm
when working with Madeira Catona Thread
0.5mm
when with working with Venne 70/2 Thread
6. When
sewing up your garments use a very fine No 12
sewing needle.This
gives a far neater finish.
Enjoy your miniature knitting experience
hoping this post helps in some way
Sharon


 !
!


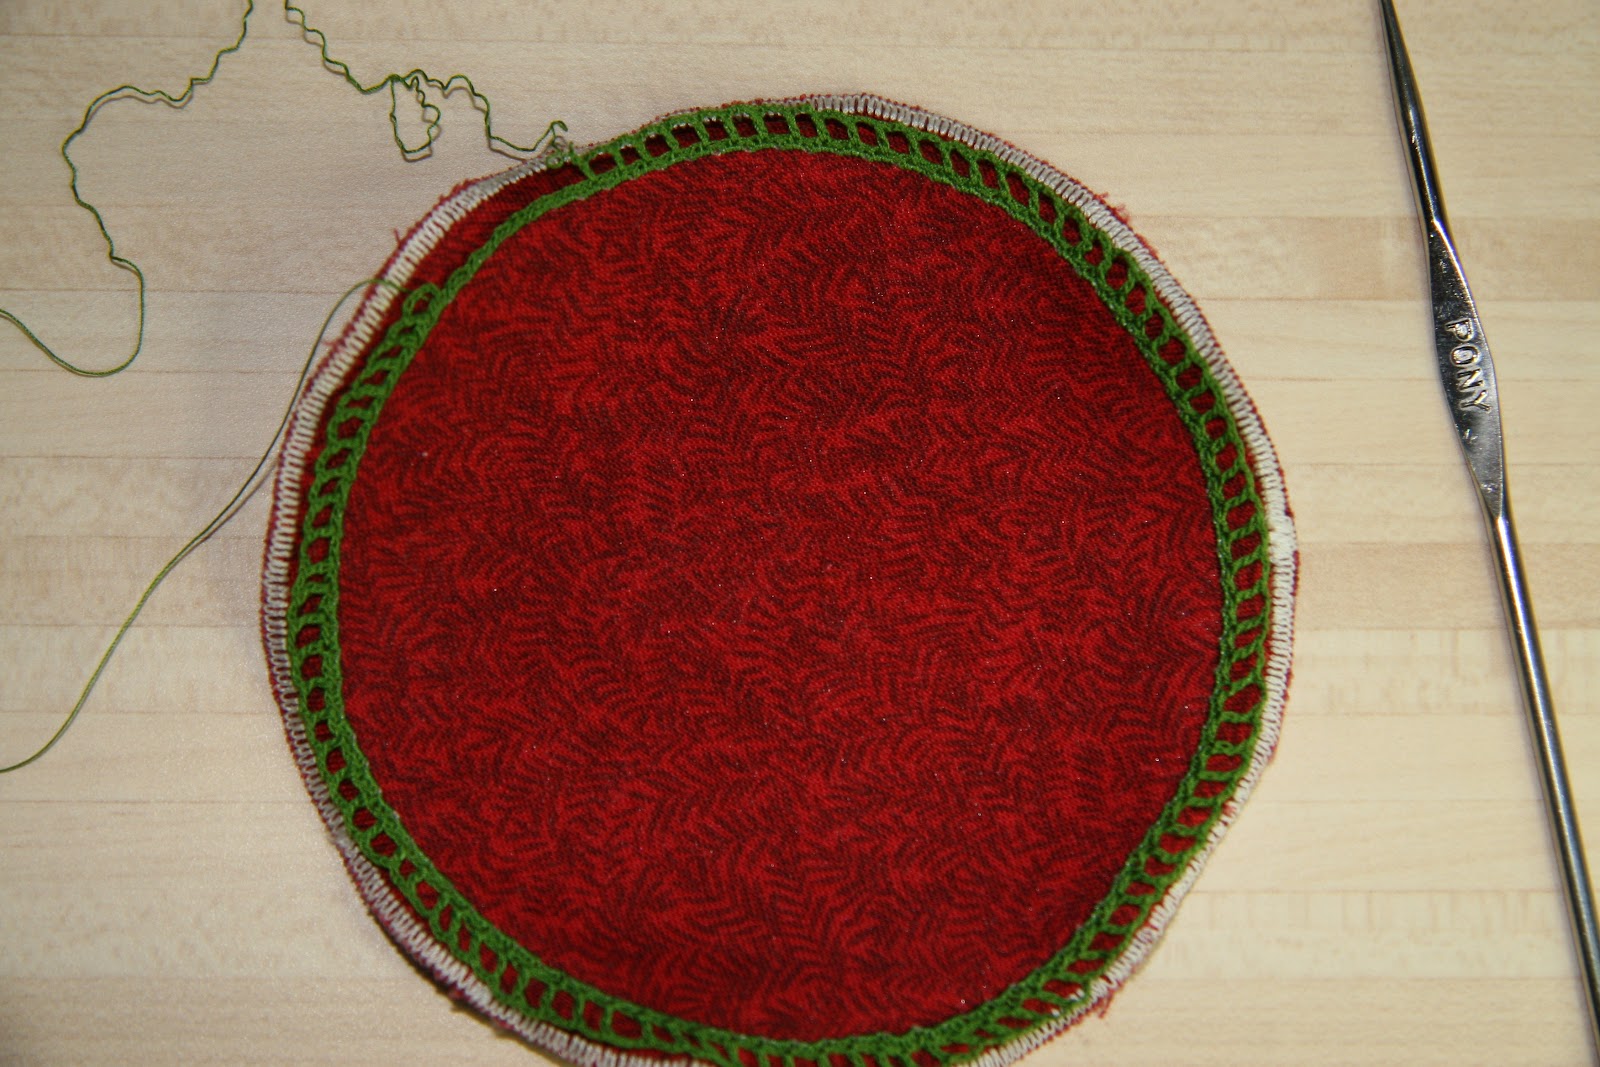